


Steps to Installing an Industrial Epoxy Flooring System
1. Surface preparation
Start by mechanically grinding or acid etching the concrete to create a proper profile. The surface must be completely clean and free of contaminants such as dust, grease, paint flakes, or moisture. If the slab is affected by rising damp, apply a moisture barrier primer before laying down the base coat.
2. Repairing defects
Fill cracks and imperfections using a two-pack epoxy repair compound like Sikadur 31 CFN. For larger voids or damaged areas, a coving and repair mortar kit is ideal. Allow the repair material to cure fully (typically 6–8 hours) before grinding or coating.
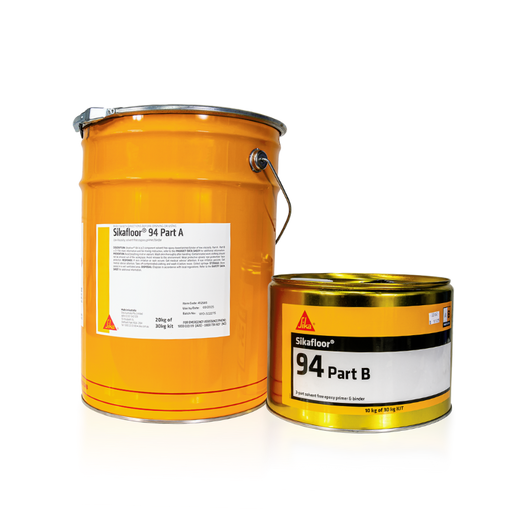
3. Primer application
Roll on an epoxy primer coat and allow it to cure for at least 8 hours at 20°C. Extended curing may be required if solvents are used in the mix.
4. Levelling and surface correction
Within 24 hours of applying the primer, remove any uneven spots by grinding high points and patching low areas. If more than 30–36 hours pass, the floor must be abraded with 80-grit sandpaper before recoating.
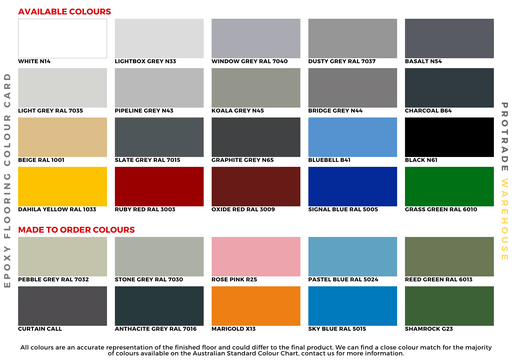
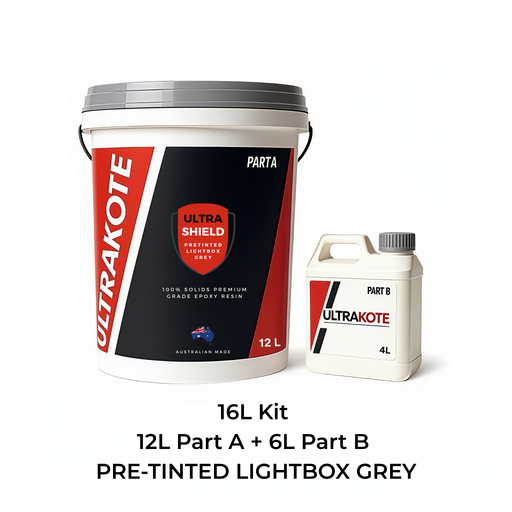
5. Applying the coloured epoxy
Roll out a uniform coat of coloured epoxy across the floor. Always back-roll in the opposite direction of the light source to ensure a consistent appearance. Spike shoes can be used to walk over the coating for even application, but safety precautions are essential. Curing at 20°C typically takes a minimum of 8 hours.
6. Final coat
Apply a finishing coat following the same method. Do not dilute the final coat with thinners.
7. Slip resistance
For areas where extra safety is required, broadcast or blend anti-slip media into the final coat.
8. Curing and traffic
The surface will usually be suitable for foot traffic within 24 hours. Heavy items like vehicles, boats, or machinery should not be placed on the floor for at least 7 days after the last coat.
Shop online 24/7 with competitive trade pricing and fast Australia-wide delivery, or visit us in-store to explore our full epoxy flooring range.